HOW TO INSTALL DISCALSLIM®


Here the DISCALSLIM® installation procedure
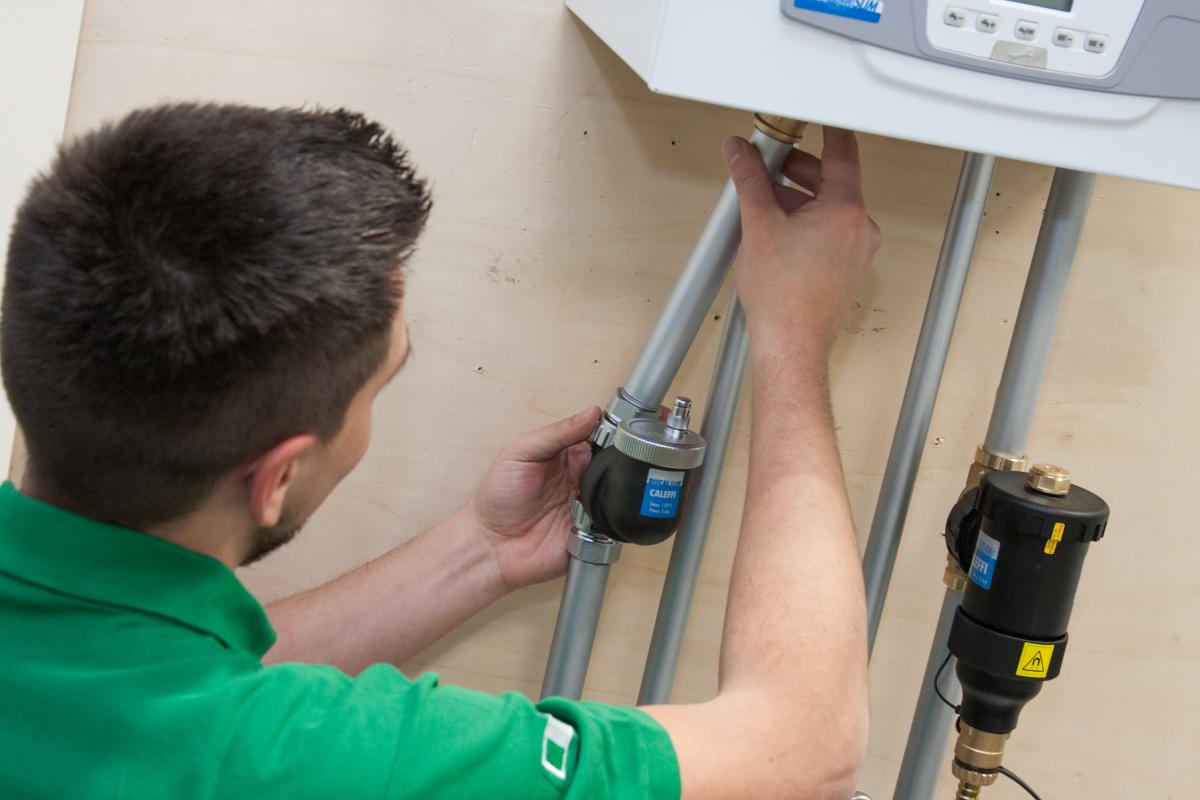
Identify the system delivery pipe and choose the section where you want to install the DISCALSLIM®

The ¾” or 1” connections allow the DISCALSLIM® to come in direct contact with the pipe; alternatively, you can use the kit for 18 or 22 mm copper pipe
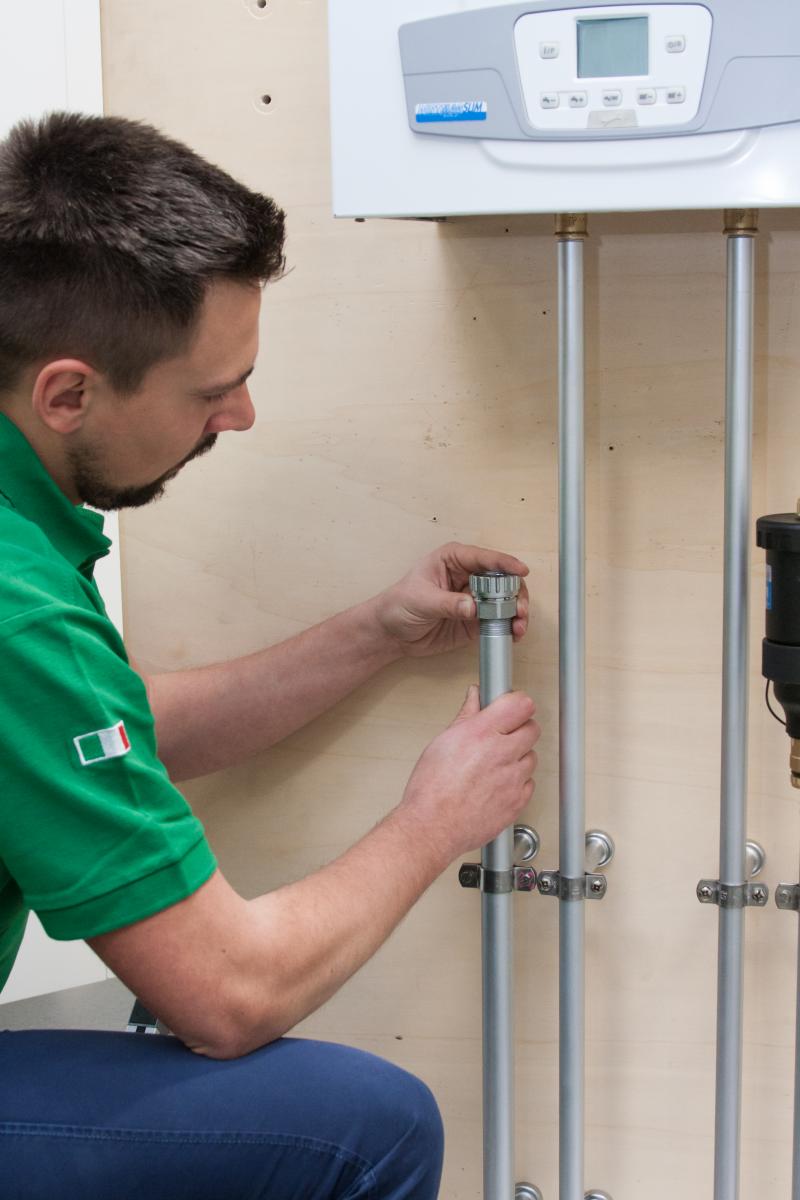
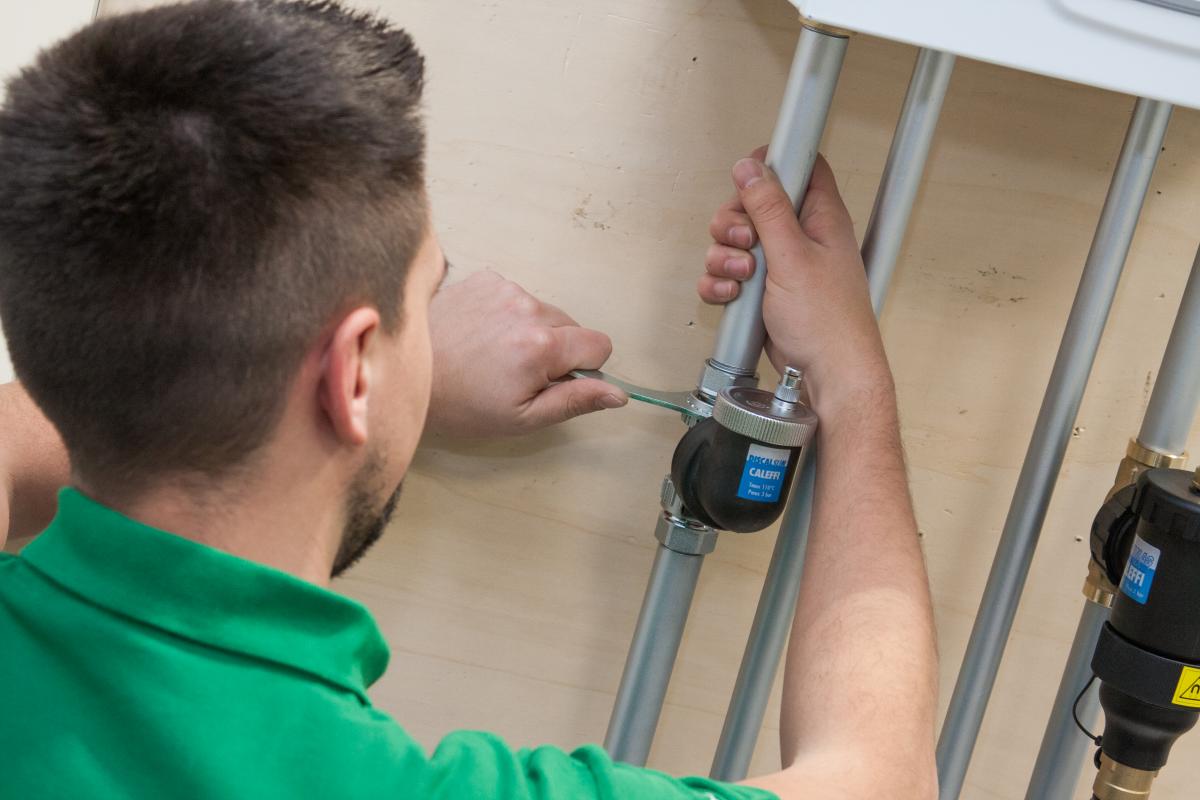
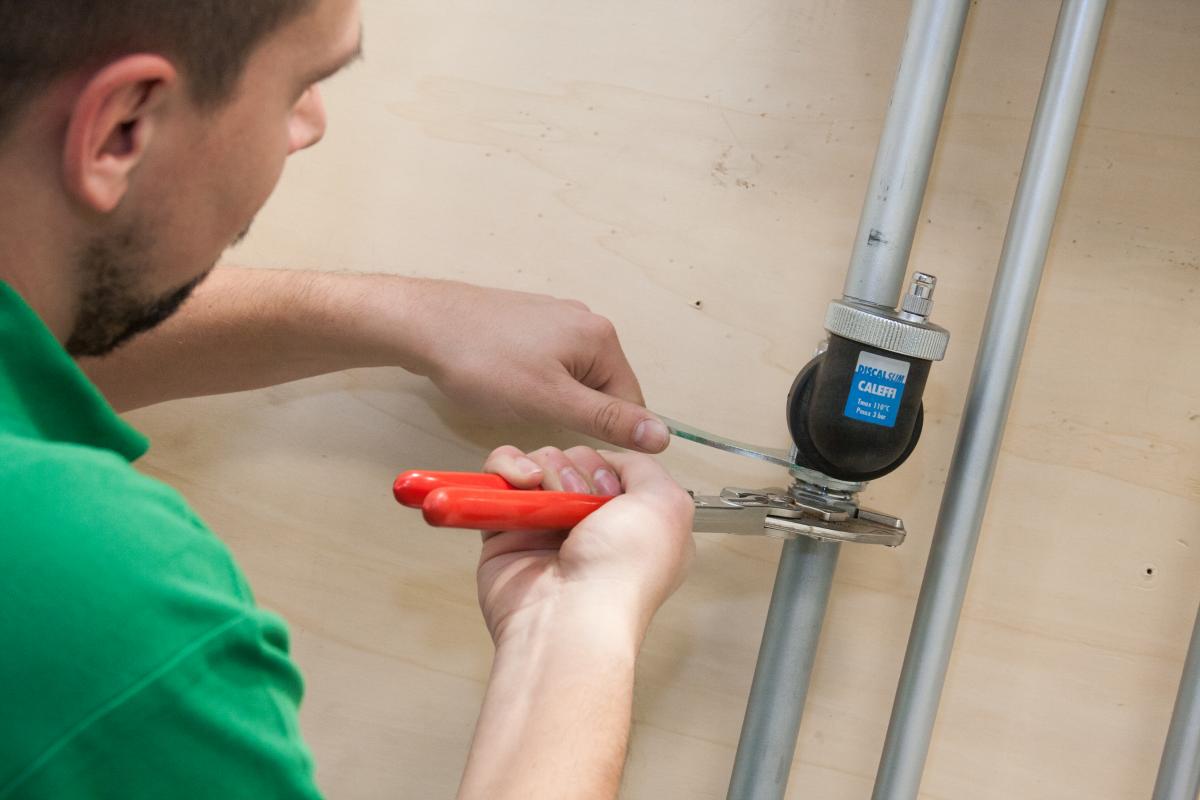
The connection system with nut makes for a quick and easy installation
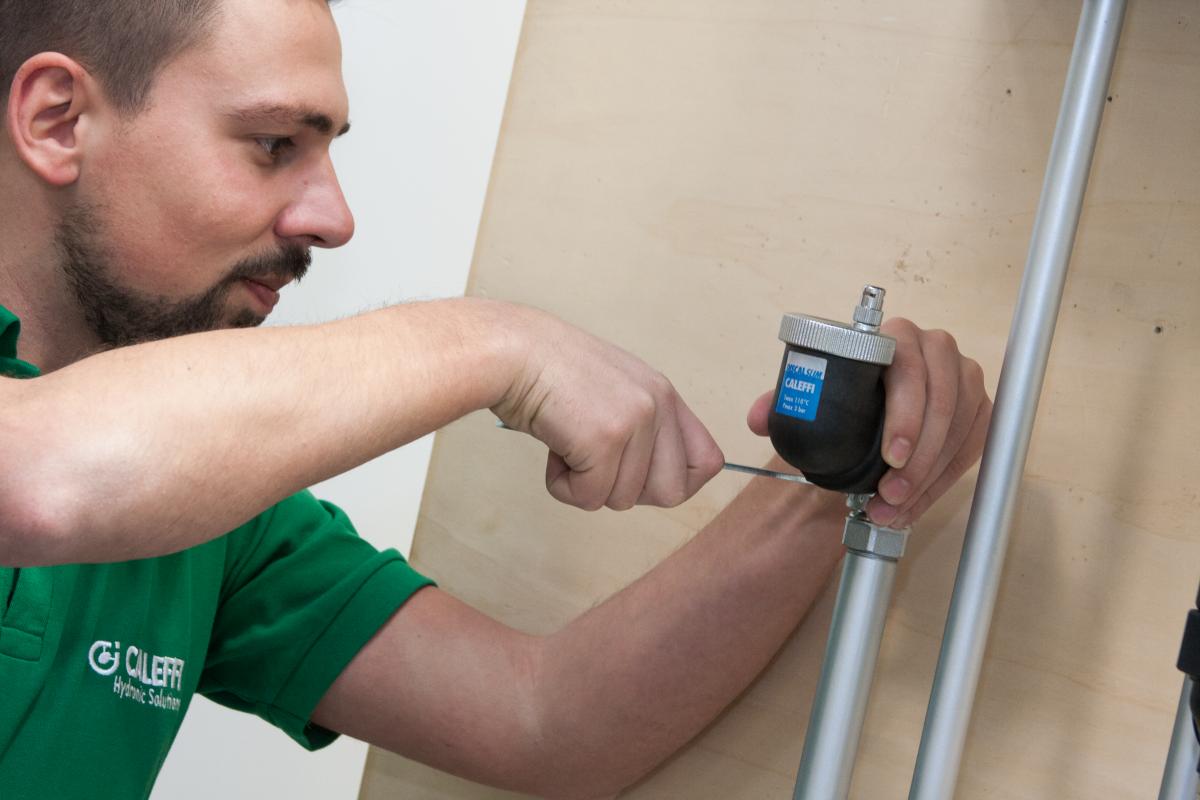
A wrench is included in the kit for tightening the connections to the body of the DISCALSLIM®
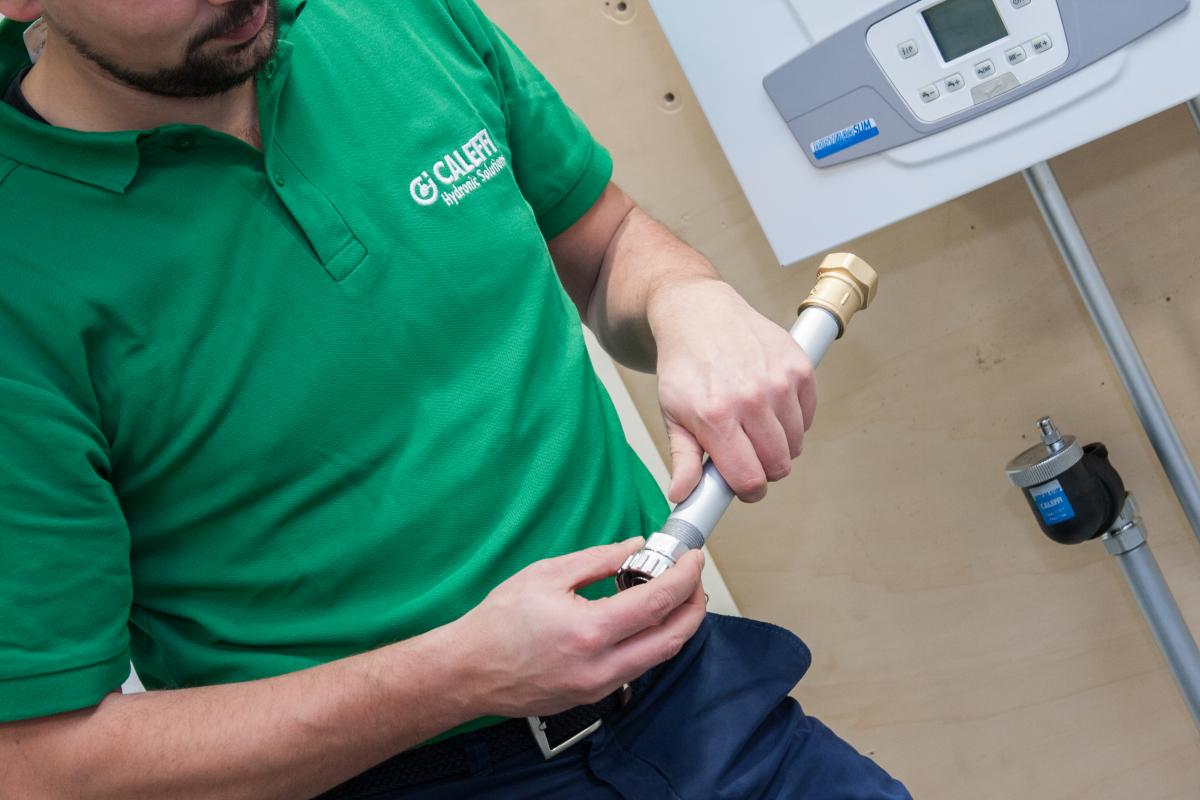
You can use the cut pipe to connect to the boiler
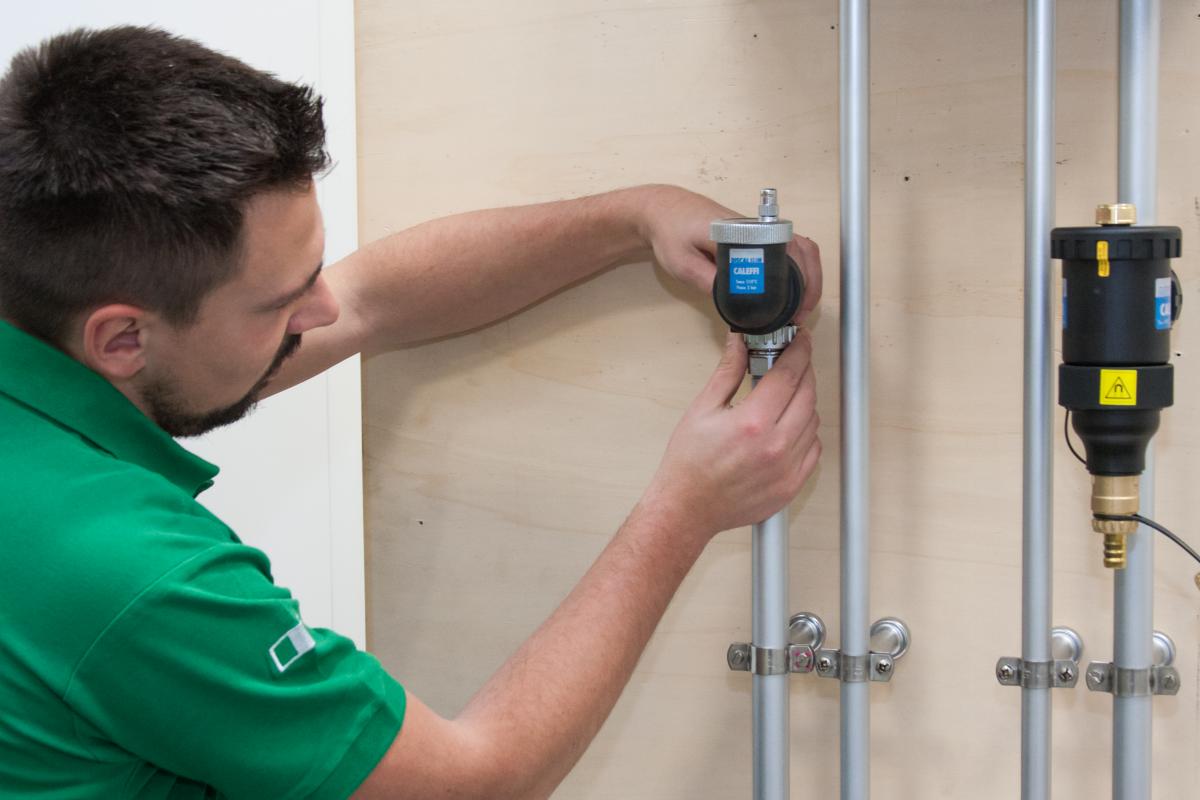
The mobile nut unions make the installation far easier
The connections have O-rings to ensure a tight connection to theDISCALSLIM®
Once you have installed theDISCALSLIM®, reconnect the pipe to the boiler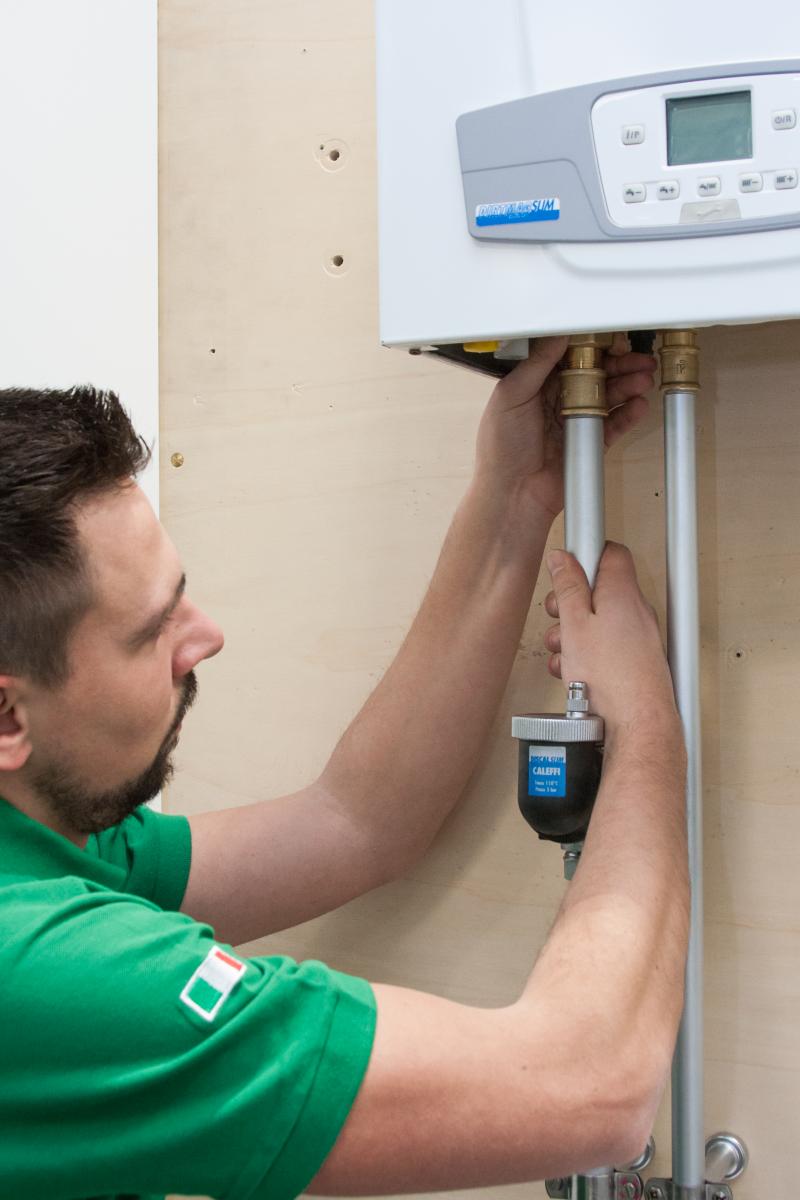
Take care not to overtighten and strip the threads
DISCALSLIM® has an adjustable mounting, so that it can be installed on both vertical and horizontal pipes

The float mechanism which opens the vent ducts is mounted on the cap, so that removing the latter gives access to the deaeration chamber for maintenance.